Back to School T-shirt Design-03: A Digital Asset for Creators and Small Businesses
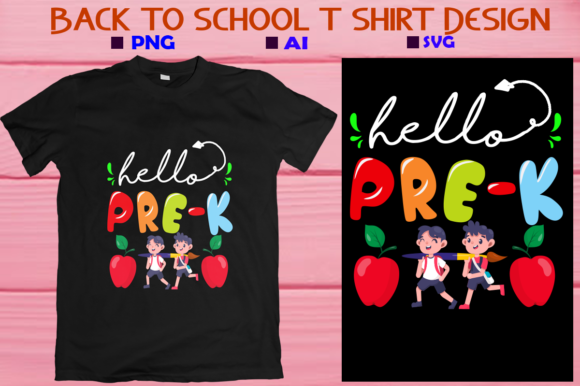
Whether you are launching a seasonal product line, preparing custom gifts for the classroom, or building a library of scalable clip art, the Back to School T-shirt Design-03 offers a ready-to-use template that fits directly into your production workflow. This digital file package is not just a single design—it is a structured set of formats that allow you to move from concept to final output with minimal friction. The design itself is built around the popular sentiment “This is my New Best Back To School T-Shirt Design,” making it immediately relevant for back-to-school campaigns, personal projects, or retail inventory.
For anyone running a print-on-demand store, a small apparel brand, or a hobby-based craft operation, having a consistent, high-quality source of vector and raster files is essential. This design package delivers exactly that: six file types, all at 300 dpi, compressed into a single ZIP archive. Below we examine how this resources integrates into real-world processes, what preparation steps matter, and how to use it across different tools and platforms.
Understanding the Design Package and File Structure
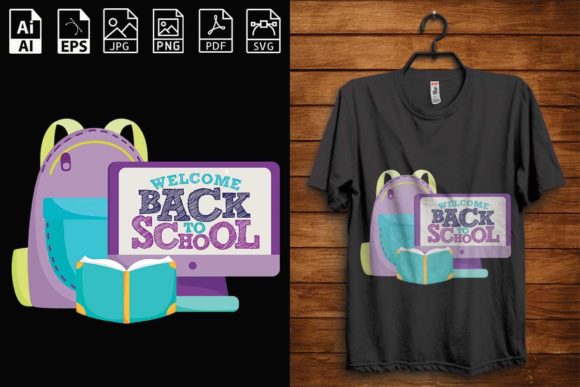
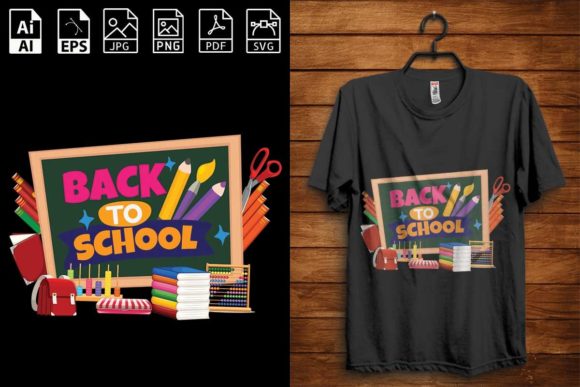
The core offering is a digital download that includes an AI file (Adobe Illustrator), EPS file, PDF file, SVG file, JPG file, and PNG file. Each format serves a specific purpose in a creative or production pipeline. The fact that they are all high-resolution (300 dpi) means you can scale the design for large-format printing—like posters or iron-on transfers—without losing edge sharpness or detail. The ZIP compression is standard, but extraction habits vary among users. A simple double-click works on most modern operating systems, but for batch extraction, tools like WinZIP or WinRAR remain reliable.
Before you open any file, take a moment to organize your digital workspace. Create a project folder named after the design (e.g., “BackToSchool_Design03”) and extract all files there. This prevents confusion when you later pull assets for cutting machines or screen printing. Because the package contains both vector (AI, EPS, SVG) and raster (JPG, PNG) formats, it is wise to keep them separated by subfolder if you manage multiple designs.
How This Design Fits Into a Typical Workflow
To understand the practical value, consider a common scenario: a small business owner who prints custom T-shirts for local school events. The process typically involves concept selection, file preparation, tool setup, production, and quality check. The Back to School T-shirt Design-03 acts as the starting asset. You do not need to redraw or re-license a design from scratch. Instead, you import the SVG into your cutting machine software, or open the AI file in Illustrator to tweak colors or add layered text.
Here is how the design interacts with different stages of a project:
- Pre-production: Use the PDF or JPG to preview the layout on a mockup or to share with a client for approval. The high-resolution JPG can be placed directly into a design mockup template in Photoshop or Canva.
- File conversion and tool compatibility: The SVG file is the most flexible for vinyl cutters (like Cricut or Silhouette). It preserves paths and allows you to separate layers if the design has multiple colors. The EPS and AI files are standard for professional print shops that use RIP software or Adobe software.
- Production: For screen printing, you can open the EPS in Illustrator and separate each color into its own film. For direct-to-garment (DTG) printing, the PNG with transparency is ideal because it eliminates background clean-up time.
- Post-production: When the T-shirts are finished, you may archive the files. Because the package includes high-resolution raster images, you can also use the PNG for social media marketing or to create listing images on your e-commerce store.
The design’s broad compatibility means it integrates with nearly any software or machine you already own, whether you work on macOS, Windows, or cloud-based platforms. The AI and EPS files preserve vector data, so scaling is never a concern.
Practical Implementation Tips for Different Audiences
Because the audience ranges from hobbyists to professionals, the way you use this design will vary. Below are focused recommendations for three common user groups.
For Print-on-Demand Entrepreneurs
Speed and consistency matter. Download the ZIP, extract it, and immediately rename the files with a consistent naming convention—for example, “BT_Sch_Design03_SVG” and “BT_Sch_Design03_PNG.” Upload the PNG to your print provider’s platform (e.g., Printful, Printify) as a proof file. If your provider accepts SVG (some do), use that for scaling. Keep a local backup of the AI file in case you want to add a custom element like a school name or year. The 300 dpi resolution ensures that even at 4000×4000 pixels, the print will be crisp.
For Hobbyists and Card Makers
The design is equally useful for paper crafts. Open the SVG in your cutting machine software and adjust the size to fit a greeting card or scrapbook page. The PDF can be printed directly onto printable transfer paper for iron-on patches. When working with vinyl, the EPS file may also be imported into software like Inkscape for additional path editing. Because the design is a digital clip art set, it can be used repeatedly without degradation—a single purchase gives you unlimited print runs for personal use.
For Screen Printing Studios
If you run a shop, the AI file is your best friend. Open it in Adobe Illustrator and examine the layer structure. If the design uses multiple colors, you can separate them easily. Export each color layer as a separate black-and-white bitmap for film output. The EPS file works similarly but may be more compatible with older RIP software. Always do a test print on paper first using the JPG to verify registration and sizing before exposing screens.
Workflow Integration with Other Tools and Resources
The Back to School T-shirt Design-03 does not exist in isolation. You will pair it with design software like Illustrator, Photoshop, or Affinity Designer. You may combine it with mockup templates from Creative Market or Envato Elements to visualize the final product quickly. For vinyl cutting, the SVG file interacts directly with Cricut Design Space or Silhouette Studio. If you use a plotter or laser engraver, the DXF or EPS from the package may also be compatible after a conversion step (though only EPS and SVG are provided directly). The 300 dpi PNG is ideal for uploading to Redbubble or Society6, as those platforms require high-resolution files with transparency for their mockup generators.
One factor that often goes overlooked is file organization. When you accumulate multiple designs from the same store, you may end up with many ZIP files. Create a spreadsheet or database with columns for design name, file formats included, and intended use (T-shirt, bag, mug). This preparation step saves hours of searching later, especially if you are handling 50+ designs in a busy season.
Quality Control and Long-Term Use
Even with a professionally created design, quality control remains your responsibility. Before sending to production, open the PNG and check for any stray pixels or artifacts at 100% zoom. Because the design comes from a digital file store, the original is clean, but resizing in low-quality software can introduce jaggies. Always scale from the vector files (AI, EPS, SVG) if you need a size change. For raster exports, use the PNG baseline at 300 dpi and avoid upscaling more than 20% to retain crispness.
For long-term use, archive the ZIP file in cloud storage with a note of the purchase date and license type (personal/commercial). Many digital file stores allow you to redownload files if you lose them, but having your own backup is faster. The files themselves are not locked to any single platform, so you can use them across multiple projects for years. The design’s theme—“Back to School” with a “New Best” sentiment—is evergreen enough to be used every August without feeling outdated.
One more observation: because the package includes both vector and raster, you can repurpose the design for non-apparel items. For example, use the SVG to create a etched cutting board gift, or use the PNG to print a tote bag. The high dpi ensures that even rigid substrates (like mugs or phone cases) will retain detail during a sublimation transfer.
Final Considerations Before Using the Design
When you first download the files, resist the urge to jump into production immediately. Spend ten minutes verifying that the ZIP file is intact—check the file size against the store listing. Extract with a tool that preserves folder structure if possible. Open each file type at least once to confirm it opens without errors. If you use a Mac, built-in Archive Utility works fine; on Windows, you may want to install 7-Zip for reliability.
Test the SVG in your cutting machine software by importing it and checking for any overlapping paths or open contours. Most vector editors can rejoin open paths if needed, but a clean SVG from the store will usually be ready to cut. For screen printers, run a small proof using the PDF at actual size on your film printer to confirm that the design fits the platen and that text does not become too thin.
From a workflow perspective, this design acts as a plug-and-play asset that reduces the time between idea and finished product. The key to integrating it smoothly is to treat the file package as a modular component: you can take the vector for one process, the raster for another, and the print-ready PDF for a third, all without modifying the original. Keep the source files untouched and always work on copies. This habit protects your investment and allows you to reuse the design in future product lines with minimal rework.